Yet Another DIY Wood Tank
Contents:
- tank building plans...
by "Rod Preston Sr." <rbp-at-pressco.com> (Wed, 7 Jun 1995)
by "Rod Preston Sr." <rbp-at-pressco.com>
Date: Wed, 7 Jun 1995
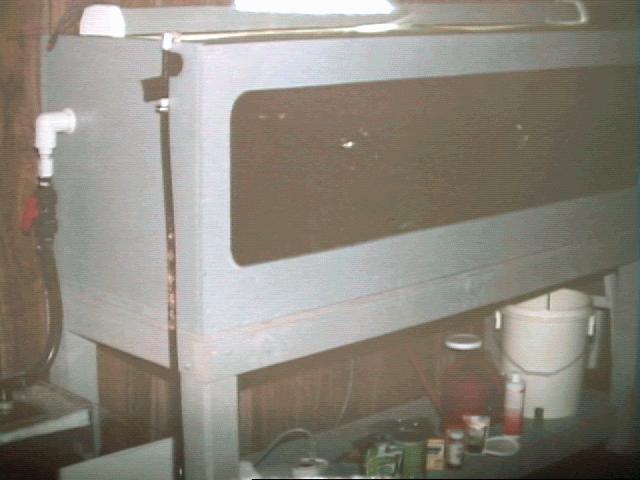
[Editor note: here is a photo of Rod's tank.]
>Sure thing.  Even better, if you have drawings then it can be an
>illustrated article.

I was working on some drawings using ghostscript, but I just didn't
have time.  The article does have some ascii sketches on making the
stand.  If you want to change the way things are layed out or add
more, or something, go right ahead. Well enough talk, here it is:

tank:

2 4x8 sheets 3/4" exterior plywood (you will have some excess for the stand)
2 1 inch x 4 inch x 8 ft oak boards (to square up the tank)
2 tubes 100% silicone to seal the inside (insurance against leaks)
2 lbs 3 inch stainless steel wood screws (1 - 2 lbs)
2 quarts epoxy paint (the more the better)
	(I used bathub epoxy, it's cheaper and works great)
1 large bottle waterproof wood glue
1 sheet glass for the front
	(I used 3/4 inch 70 1/4 x 22 1/4)

stand:
1 8 ft. 4x4 post (for legs, probably overkill, but I didn't chance it)
4 8 ft. 2x4s (for the framework)
5 inch lag bolts to bolt it all together
nails to nail it all together (I think I used 12 penny nails)
2 cans Krylon spray paint for the stand

Now if I can remember sizes. Cut the wood in the following dimensions:

plywood:
    2-at- 2ft x 6ft (front and back)
    1-at- 21 1/2 inches x 6ft (bottom)
    2-at- 21 1/2 inches x 23 1/4 inch (sides)

The bottom fits between the front and back, and the sides fit between
the front and back, and on top of the bottom. Glue the wood heavy and
screw together every 4 inches. Cut a hole in the front leaving about a
4-6 inch lip all around.

oak boards:
Cut them to 70 1/2 inches in length, these fit just inside the top
front and back portions of the tank, to firm up the tank. Also glue
these heavy and screw every 4 inches. You will also need some type of
center brace, to stop bulging. I used a 2"x1/2" strip of acrylic, but
you could use a strip of oak and seal it also.

CAUTION: The epoxy paint is toxic, so do it outside, or in a well
ventilated area.

Paint the box all over, except the bottom (outside) with as many coats
as you have paint. Let each coat dry before applying the next
one. After the tank is dry, about a day, lay the tank on it's front,
and generously spread silicone on the inside. Lay the glass on the
silicone and lay some weight on top, and let it dry overnight.

Seal the inside corners with silicone, apply generously.

For the stand I will give you a general overview, if you need more
details let me know and I will try and tell you more. I made a frame
from 2x4s, that was 6'x2' for the table top:

    ____________________________________
    |          |          |            |
    |          |          |            |
    |          |          |            |
    |          |          |            |
    |          |          |            |
    ------------------------------------

I cut the 4x4s to 30" and cut out sections for the top and a lower
shelf:

 _________
 |   |   |    Top view
 |__ |   |    The square is where the wood remains, the rest was cut down
 |       |    enough to hold a 2x4. The uncut part goes inside the tabletop.
 |       |
 ---------

 _____
 |   |        Side view
 |   |
 |   |
 |   |___
 |       |
 |       |
 |       |
 |       |
 |___    |
    |    |  This cutout is for a lower shelf which was made the same
    |    |  as the top shelf, but fit inside the front and back posts
    |    |  therefore you only need to cutout one side for the lower
 ___|    |  shelf. I think it was about 20" from front to back. I
 |       |  used the extra plywood for the shelving.
 |       |
 |       |
 ---------

Let me know if I can be of anymore help.

Rod Preston
rbp-at-pressco.com