| [E-mail] | |||
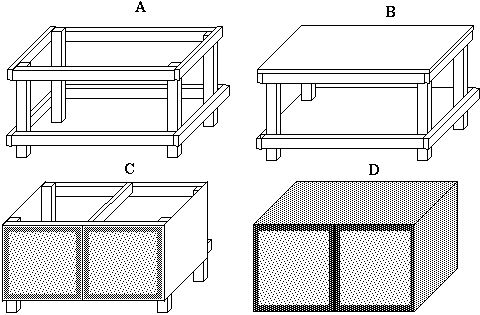
The stand should be constructed of at least 2x4s. 2x4 side bars and 4x4 legs is good, but usually not needed for most applications. Also, screwing the wood together offers greater stability in the long run and allows the stand to be disassembled with little effort.
The most critical element in the stand construction is that it is sturdy and this can not be stressed enough. However, the stand must be level as well. If the tank rests on an uneven surface, pressure points will build and a crack most likely will develop. Any solid top stand can be enhanced by placing cardboard or some moderately flexible material under the tank. This will allow the tank to `settle` into place once it is filled. If something is placed under the tank, it should be under the entire tank body not just one side or corner, thus reducing the stress on the tank.
Model A is regularly offered in pet shops for $50 or more when in actually it costs about $10 to build. One final note on the construction, the wood should be dried. If the wood is damp during construction, it will dry and warp leading to uneven surfaces.
[Forward to conclusion, Back to hood]
|
|
This page was last updated 29 October 1998 | ||